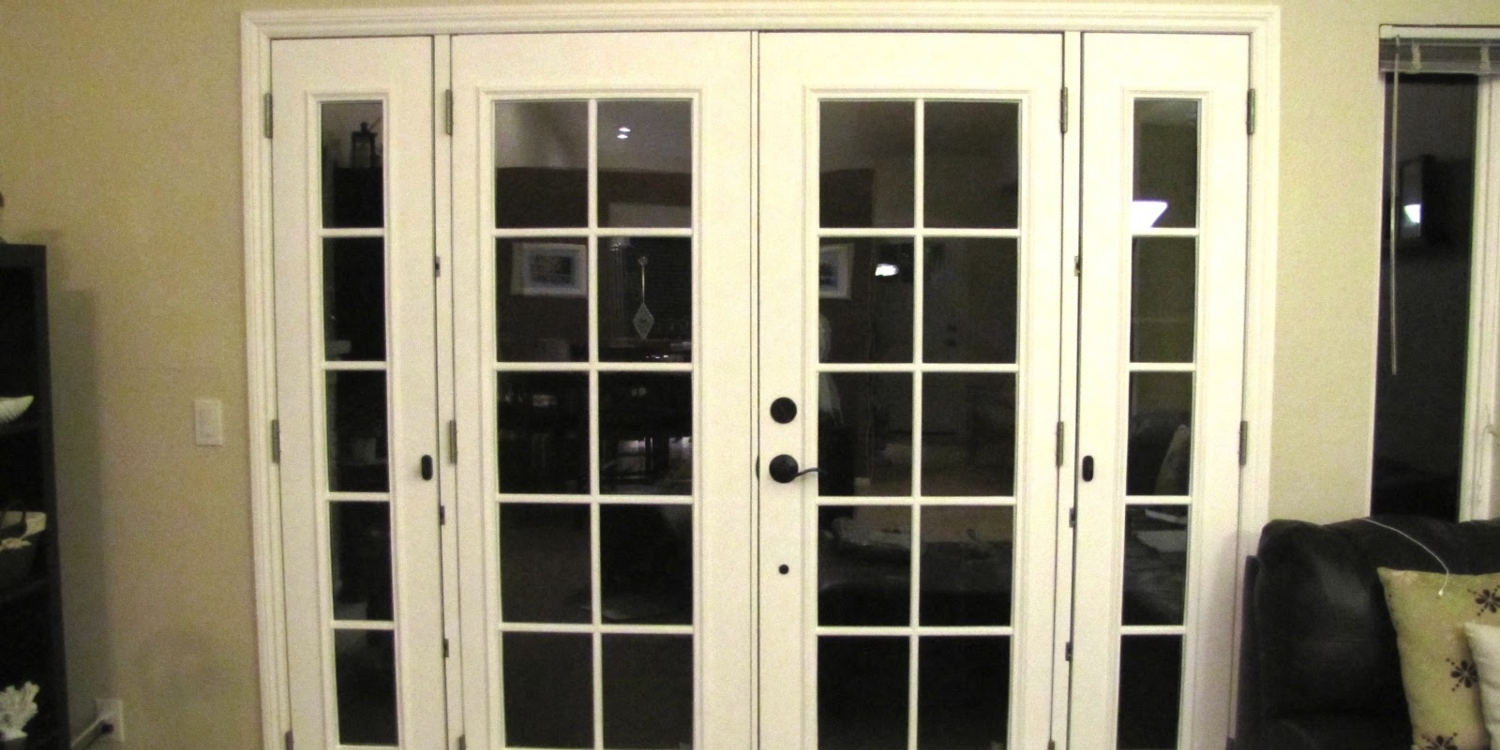
French doors can add a touch of elegance and style to any home, whether for interior or exterior use. Follow this comprehensive step-by-step guide to successfully install French doors without the need for center support, providing better access and a more aesthetically pleasing look.
French Doors Are Versatile

Before embarking on the installation, consider the location of the door, potential obstructions, the type of glass, and the screen options for exterior doors. Check the available space around the doorway to ensure sufficient room for the new French doors to open and close comfortably. If installing in a new doorway, assess the best spot for access, sunlight exposure, and views. Additionally, decide on the type of glass that suits your privacy preferences, whether it’s clear, textured, or frosted panels. Magnetic or retractable screen doors are recommended while leaving the space open is also an option.
Measure the Doorway Begin by measuring the height and width of the current doorway accurately. Remove the door trim to get precise measurements. Purchase a French door kit that fits the measured dimensions, ensuring there is a small gap of about 1/4 inch to 1/2 inch between the frame and the doors. If necessary, consider ordering custom-made French doors for a perfect fit.
Cut the Sill Pan (for Exterior Doors) When it comes to exterior doors, measure the width of the frame and cut the sill pan to size using a hacksaw. The sill pan helps keep rain, snow, and sleet out of your home.
Consider the Location of the Door

Apply Waterproof Caulk Apply three rows of waterproof adhesive caulk at the base of the door frame using a caulking gun. The adhesive caulk will secure the sill pan in place without the need for screws and prevent moisture from entering your home.
Install the Sill Pan Slide the sill pan into position over the base of the door frame, pressing it down onto the caulk evenly along the entire length. Use a roller or similar object to flatten the sill pan further if needed.
Install the Door Frame For exterior French doors, apply waterproof adhesive caulk along the perimeter of the sill pan and seat the door frame into it. If needed, enlist the help of another person to handle the width and weight of the door frame. For interior French doors, tilt the door frame up and into position with assistance, sliding the sides against the bare edge of the doorway as closely as possible.
Mount the French Doors

Depending on the French door kit, the doors may come pre-hung on the frames or separately. If not pre-hung, use the provided hinges and hardware to hang each door, ensuring the base of the door is adequately supported during installation to avoid tearing out screws. Use a level to confirm proper door alignment.
Install Strike Plates Close the doors and mark the location where the shoot bolt would hit at the top and bottom. Install the four strike plates according to these measurements, securing them to the top and bottom of the door frame. For interior French doors, decide whether to install the bottom set of strike plates, considering they may need to be secured to the floor.
Seal the Door Frame Seal the door frame on the top and sides with waterproof caulk both inside and outside to prevent moisture and air infiltration.
Install the Doorknobs and Lock Install the doorknobs and lock according to the manufacturer’s instructions for each door.